 SEAL CONNECT
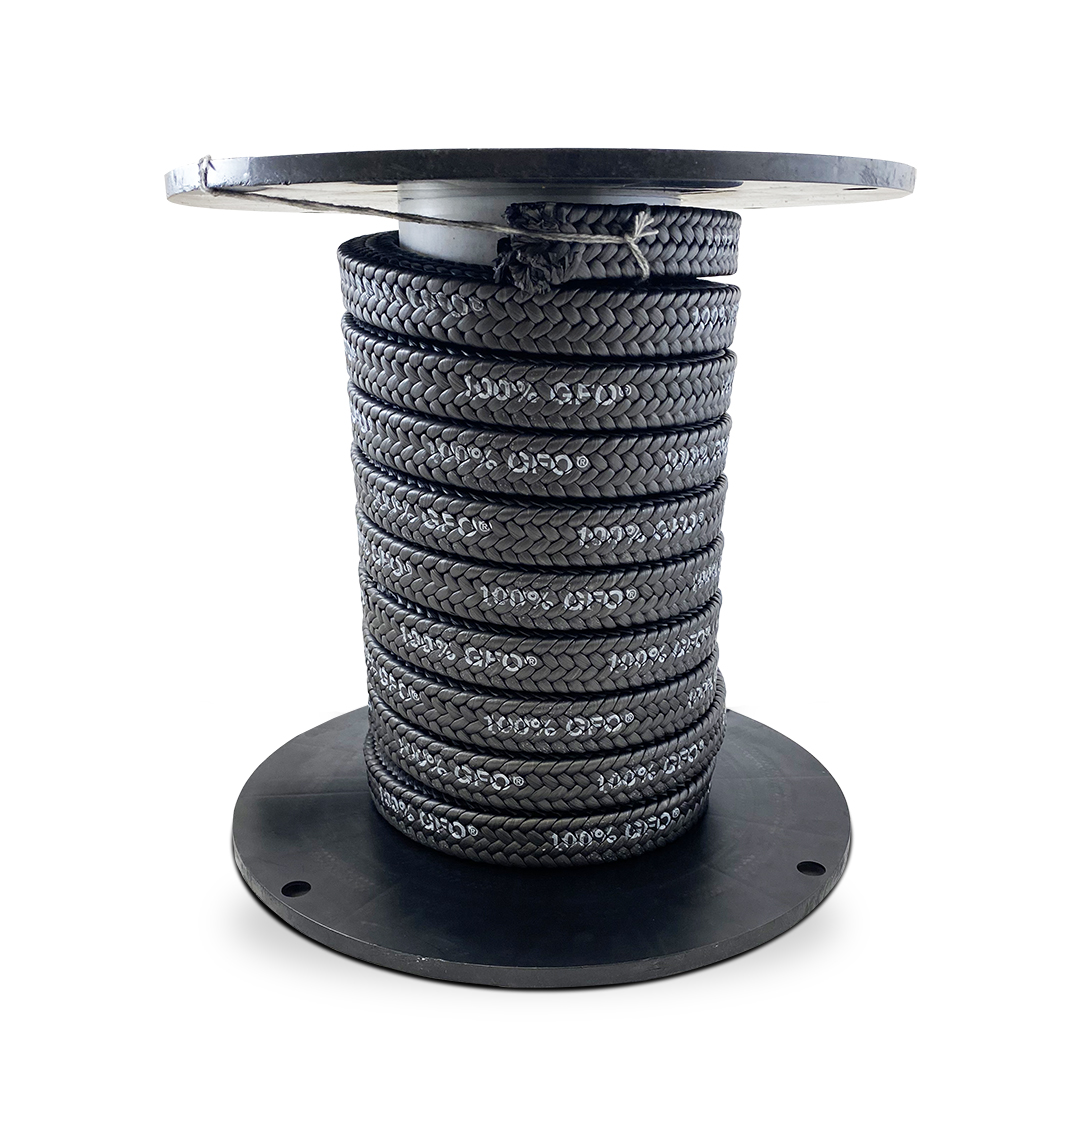 When it comes to pumps, valves, and rotating equipment, even the best sealing products will only perform as well as they’re installed. Compression packing installation remains one of the most reliable and cost-effective sealing methods—but like anything in the field, the details matter.
Installed correctly, compression packing delivers long service life and consistent leakage control. Installed incorrectly, it leads to premature failure, excess leakage, and costly downtime.
That’s why proper installation is critical.
This step-by-step guide covers compression packing installation best practices, helping you improve equipment reliability, reduce maintenance, and avoid common failures. For application-specific solutions, explore SEPCO’s compression packing solutions.
Why Proper Compression Packing Installation Matters
Even small installation errors can impact performance. Poor installation can result in:
- Excess leakage
- Increased friction and heat
- Shortened packing life
- Shaft or sleeve damage
- Increased maintenance costs
When properly installed, compression packing should operate at approximately 8–12 drops per minute per inch of shaft diameter, providing adequate lubrication without unnecessary product loss.
Step 1: Prepare the Pump and Stuffing Box
Proper stuffing box preparation is the foundation of successful compression packing installation.
Before starting:
- Ensure equipment is shut down, locked out, and depressurized
- Allow hot systems to cool
Remove the old packing carefully using the proper tools, avoiding damage to the shaft or sleeve.
Once removed:
- Clean the stuffing box thoroughly
- Remove debris, corrosion, and residue
- Inspect shaft or sleeve condition
Check for shaft runout—this should generally be less than 0.002″ TIR. If the shaft is deeply grooved (≈0.010″ or more), packing life will be significantly reduced.
Measure:
- Stuffing box ID
- Shaft OD
- Stuffing box depth
Step 2: Select the Right Compression Packing Material
Choosing the correct material is essential for sealing performance and longevity.
Use the STAMPS criteria:
- Size
- Temperature
- Application
- Media
- Pressure
- Speed
Calculate surface speed (SFPM):
(π × shaft diameter × RPM) ÷ 12
Material examples:
- Graphite-filled PTFE packing: chemical resistance, higher temperatures
- Aramid packing: abrasive services, high-speed applications
Incorrect material selection is one of the leading causes of packing failure. For guidance, consult SEPCO’s technical resources.
Step 3: Measure and Cut Packing Rings Correctly
Proper ring sizing is critical for leak prevention and packing life.
Packing size formula:
(Stuffing Box ID – Shaft OD) ÷ 2
Cut rings using:
- Skive cuts (45°) for higher pressure
- Butt cuts for standard applications
Wrap packing around a mandrel matching shaft diameter before cutting. Rings must fit cleanly with no gaps or overlap.
Avoid installing packing directly from the coil—this causes spiraling and uneven sealing.
For improved accuracy and faster installation, consider SEPCO’s custom die-formed packing rings.
Step 4: Lubricate Packing Rings
Apply a compatible lubricant to each ring to:
- Reduce startup friction
- Prevent dry running
- Improve break-in performance
Avoid over-lubrication, which can cause slippage and reduced sealing effectiveness.
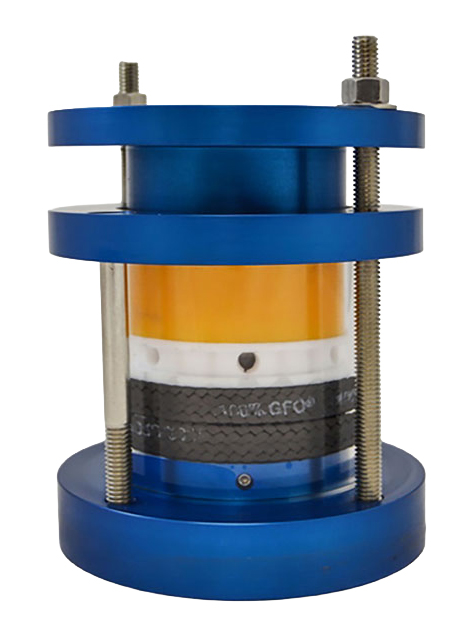 Step 5: Install Packing Rings Properly
Install rings one at a time, starting at the bottom of the stuffing box.
Best practices:
- Seat each ring with a tamping tool
- Stagger joints (12, 3, 6, 9 positions)
- Apply light initial compression
If using a lantern ring, position it correctly with the flush port.
Step 6: Build the Packing Set
Continue installing rings sequentially, ensuring each is fully seated before adding the next.
Typical configurations include 5–7 rings, depending on stuffing box depth.
Proper installation at this stage directly impacts sealing performance.
Step 7: Tighten the Gland Follower Evenly
Gradually tighten gland bolts using a cross pattern.
Avoid:
- Over-tightening (causes heat and wear)
- Uneven tightening (causes misalignment)
The goal is even compression, not maximum compression.
Step 8: Break In the Packing
Start equipment at reduced speed with proper flush flow.
During break-in:
- Expect initial leakage (20–60 drops/min)
- Run for 15–30 minutes
- Monitor temperature
Packing temperature should remain within 50°F of process fluid temperature.
Step 9: Adjust to Proper Leakage Rate
After break-in:
- Tighten in small increments (⅛–¼ turns)
- Allow stabilization between adjustments
Target leakage:
8–12 drops per minute per inch of shaft diameter
Do not attempt zero leakage—this leads to overheating and failure.
Step 10: Monitor and Maintain Packing
Routine maintenance ensures long-term reliability.
Monitor:
- Leakage rate
- Temperature
- Vibration
Ensure flush water is clean and properly pressurized.
Replace packing when leakage becomes uncontrollable or material degrades.
Final Thoughts: Reliable Packing Starts with Proper Installation
Proper compression packing installation directly impacts equipment performance, reliability, and maintenance costs.
By following these best practices, you can:
- Extend packing life
- Reduce downtime
- Improve sealing performance
- Lower total cost of ownership
If you need help with material selection or application challenges, contact SEPCO’s engineering team for support.
 Find Your Sealing Solution