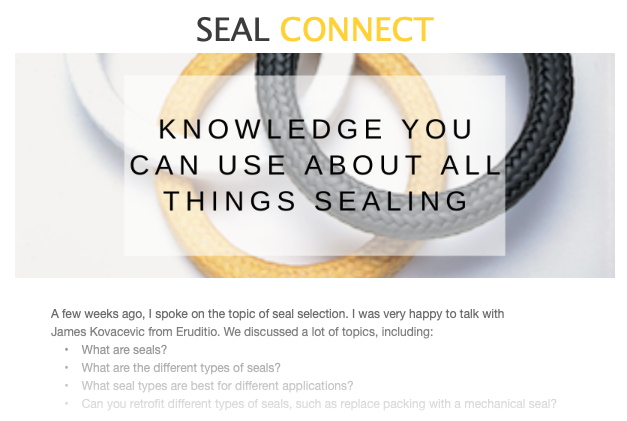
 SEAL CONNECT
Your Go-To Checklist for Installing Mechanical Split Seals
 Installing mechanical split seals on rotating equipment isn’t just a task—it’s a craft. Done right, it ensures your equipment runs smoothly, avoids costly leaks, and lasts for years. Done poorly, and you’re looking at downtime, repairs, and headaches. After years of working with these seals, we’ve put together a checklist of best practices to confidently guide you through the process.
Inspect Like a Detective
Before you even think about installation, give every component a thorough once-over. Check the shaft or sleeve for scratches, burrs, or wear—anything that could compromise the seal. A tiny nick might seem insignificant, but it can spell trouble down the line.
Keep It Spotless
Cleanliness is non-negotiable. Wipe down the shaft, seal chamber, and seal faces to remove dust, grease, or debris. Even a speck of dirt can throw off the seal’s performance, so channel your inner neat freak here.
Lubricate Lightly
A thin coat of lubricant on the shaft or sleeve makes installation smoother and protects the seal from damage. Don’t overdo it—think of it like applying sunscreen: just enough to do the job.
Stick to the Manual
The manufacturer’s installation guide is your bible. It’ll tell you exactly how to orient the seal, what torque to apply, and any other must-know details. Ignoring it is like assembling furniture without instructions—frustrating and risky.
Get the Orientation Right
Split seals have a specific way they need to sit. Double-check that the halves are aligned as shown in the manual. A misstep here can lead to leaks or a seal that fails faster than you can say “oops.”
Tighten with Care
When securing the seal with set screws or clamps, go slow and keep it even. Uneven pressure can distort the seal faces, throwing off alignment and setting you up for problems. Think of it like tuning a guitar—balance is everything.
Double-Check Alignment
Once the seal is in place, verify that the shaft and equipment are properly aligned. Misalignment is a silent killer, wearing out seals faster than you’d expect. A quick check now saves headaches later.
Use the Right Tools
Skip the makeshift solutions. Use the tools recommended for the job and steer clear of anything sharp or pointy that could nick the seal. Treat your equipment like fine china during this step.
Test Before You Trust
After installation, run the equipment at low speed to make sure the seal is holding up and there are no leaks. It’s like a test drive for your car—better to catch issues in the driveway than on the highway.
Plan for Maintenance
A seal’s job doesn’t end at installation. Schedule regular checkups to spot wear or damage early. A little vigilance goes a long way in extending the seal’s lifespan.
Document Everything
Jot down the installation date, seal type, equipment details, and anything unusual you notice. This log becomes a lifesaver when troubleshooting or planning future maintenance. Trust me, your future self will thank you.
Train Your Team
A well-trained crew is your best asset. Make sure everyone involved knows the ins and outs of split seal installation. Mistakes are less likely when your team is confident and prepared.
Put Safety First
Never skip safety steps. Lock out and tag out the equipment before you start. It’s not just protocol—it’s the difference between a smooth job and a trip to the ER.
By following these steps, you’re not just installing a mechanical split seal—you’re setting your equipment up for peak performance and longevity. Take your time, stay focused, and you’ll keep downtime and repair costs to a minimum. Got a tip of your own? Share it in the comments—we’d love to hear what works for you
 Find Your Sealing Solution